Signature Process Guide
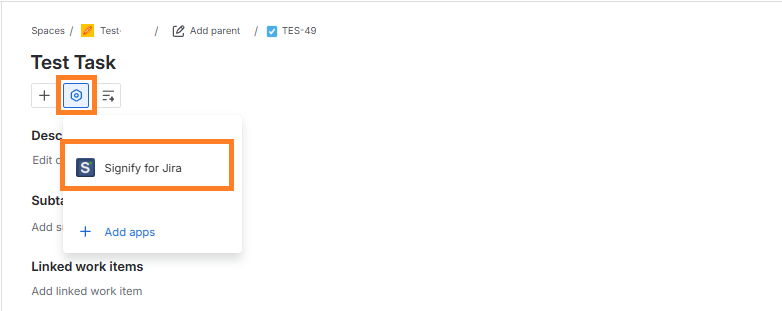
After the “Signify For Jira” application is installed , upload the relevant document. Then click View App Actions and select Signify for Jira.
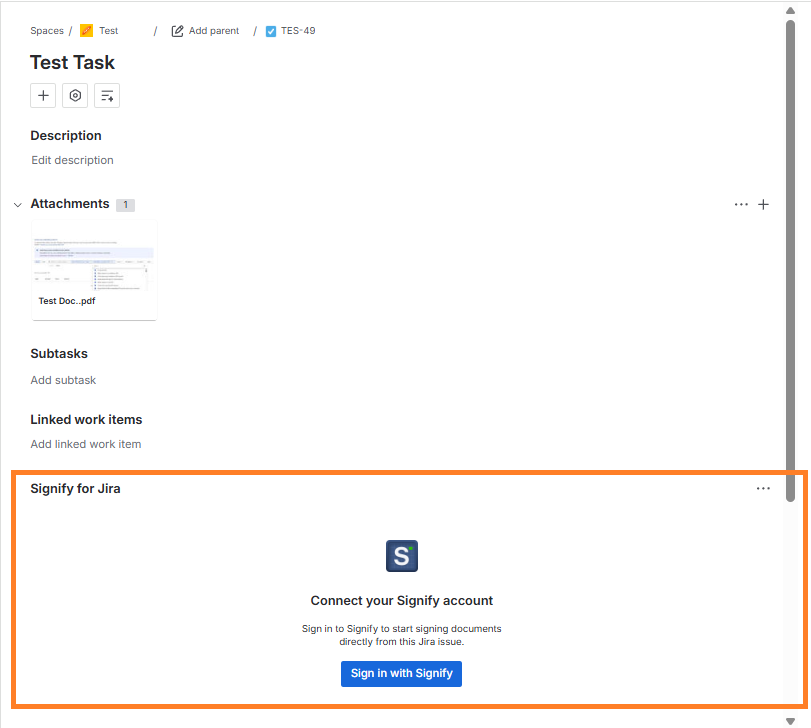
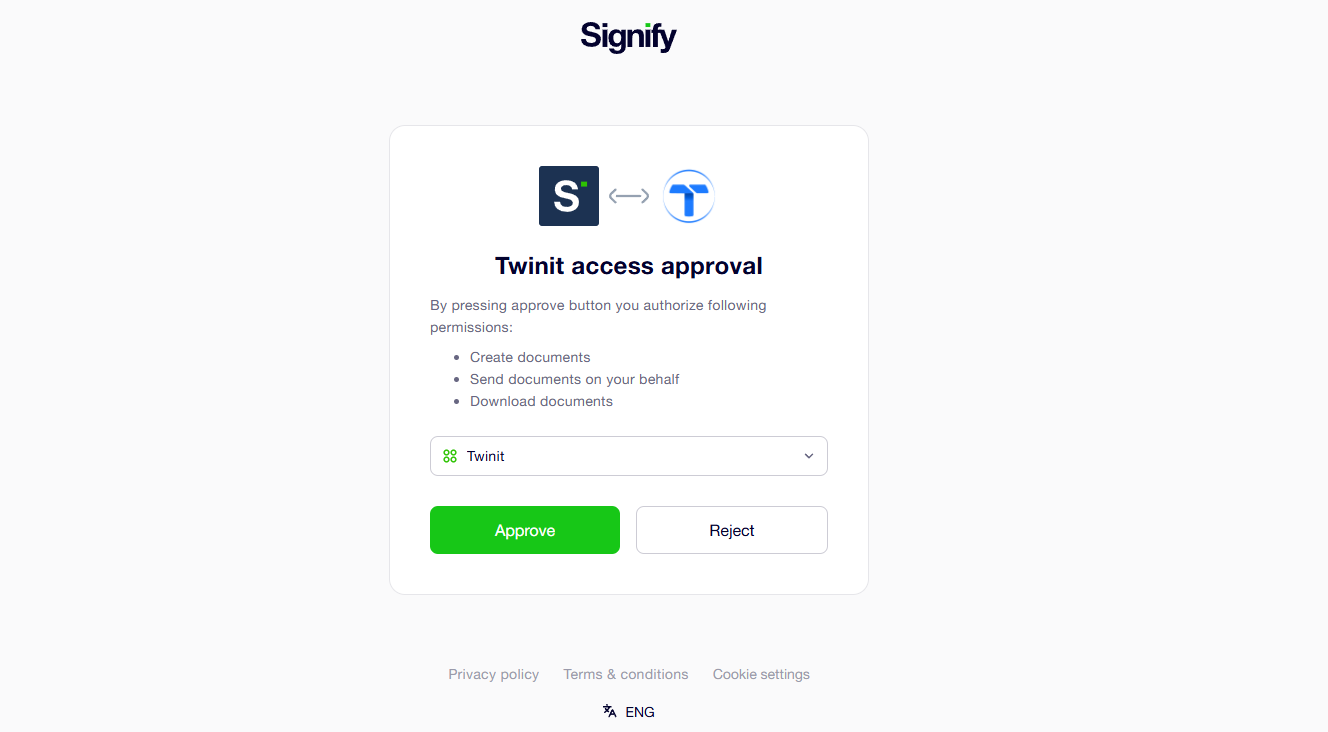
The system will display a “Signify Sign In” prompt. Click “Sign in with Signify”:
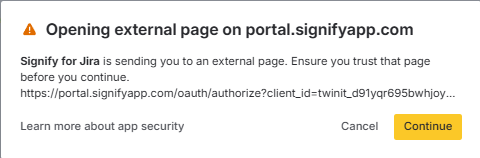
Click “Continue” on the pop-up message to proceed to the “Signify” page and complete the authentication process. Click it to proceed:
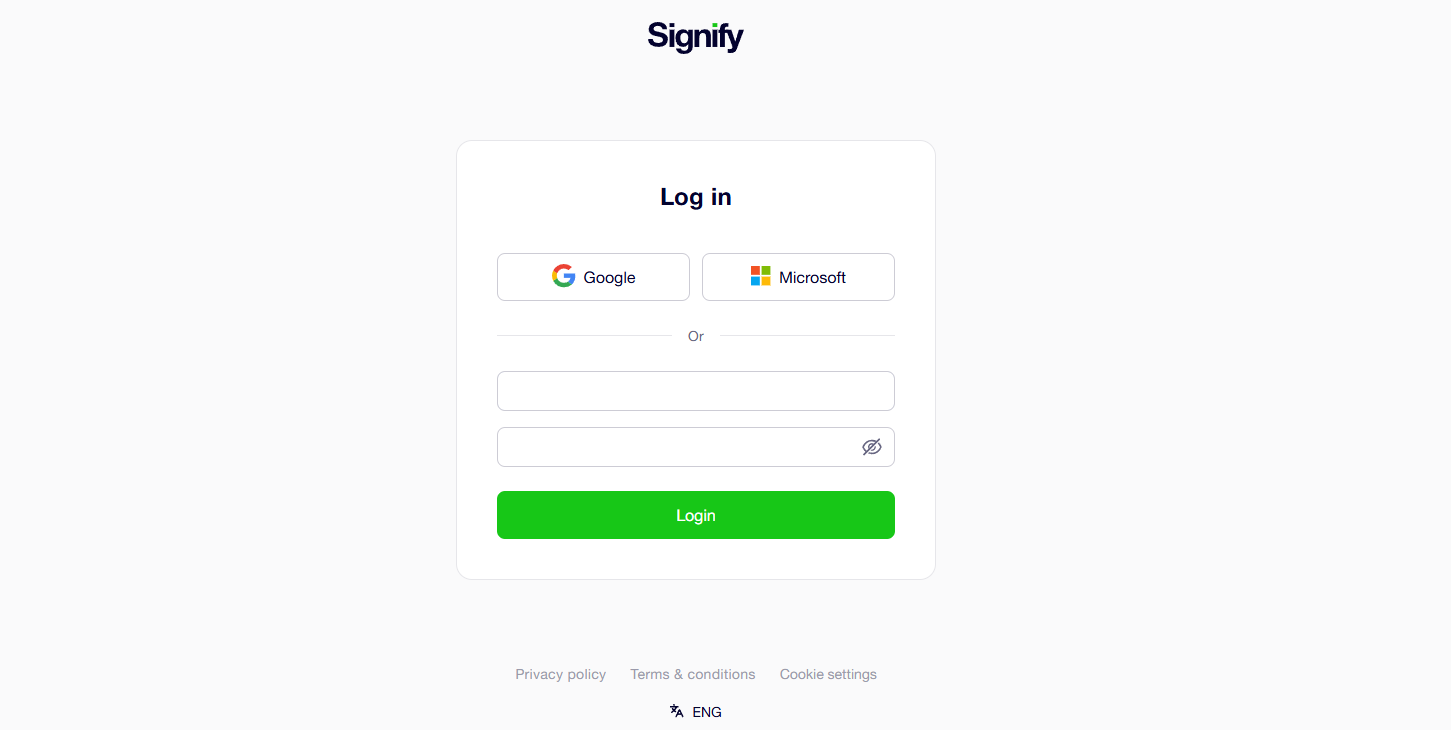
You will then be redirected to the Signify page, where you need to sign in and select the appropriate Team.
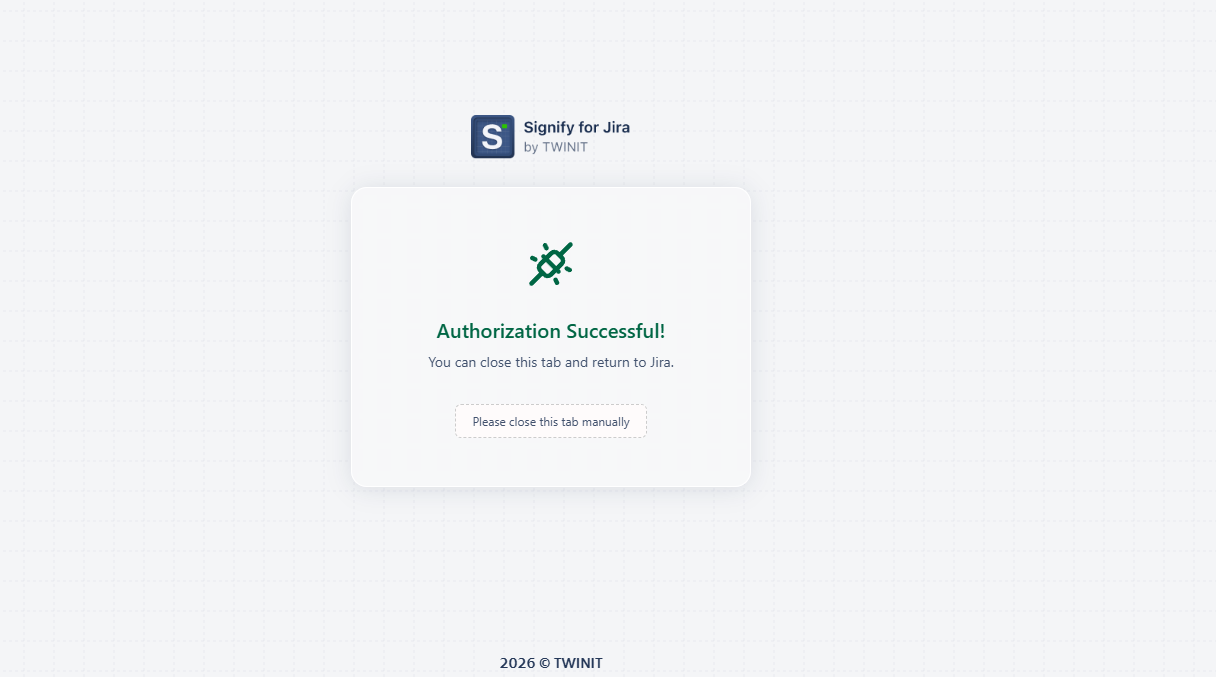
After successful authentication, a confirmation message appears. Close this thread manually and return to the Jira page.
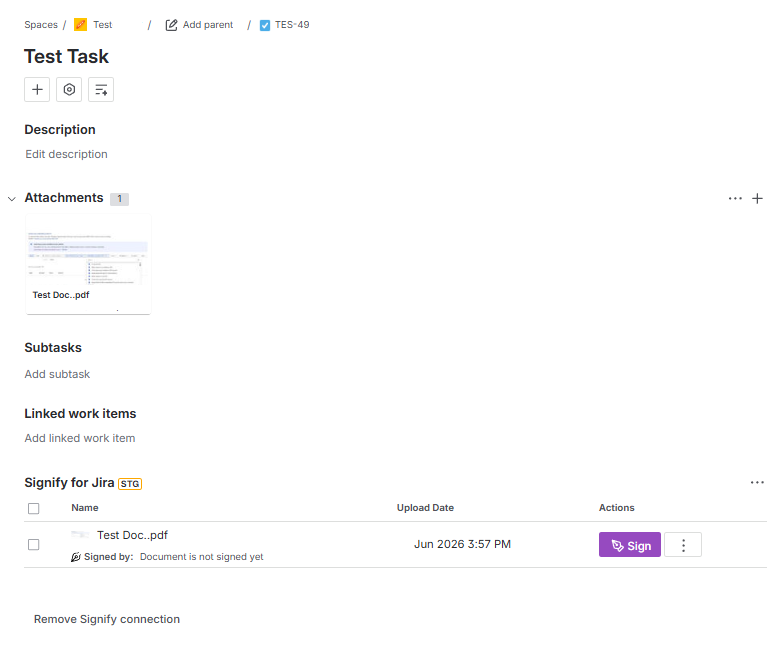
When you return to Jira, you will see the following view:
If you have not uploaded a file, an informative message will appear:

Signature Process
Once you click the “Sign” button next to the document, an information pop-up will appear.
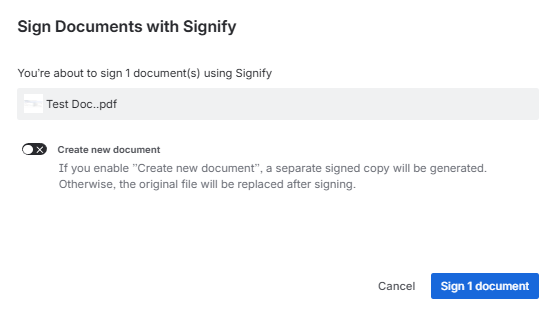
By enabling “Create new document” toggle, a separate signed copy will be generated. Otherwise, the original file will be replaced after signing.
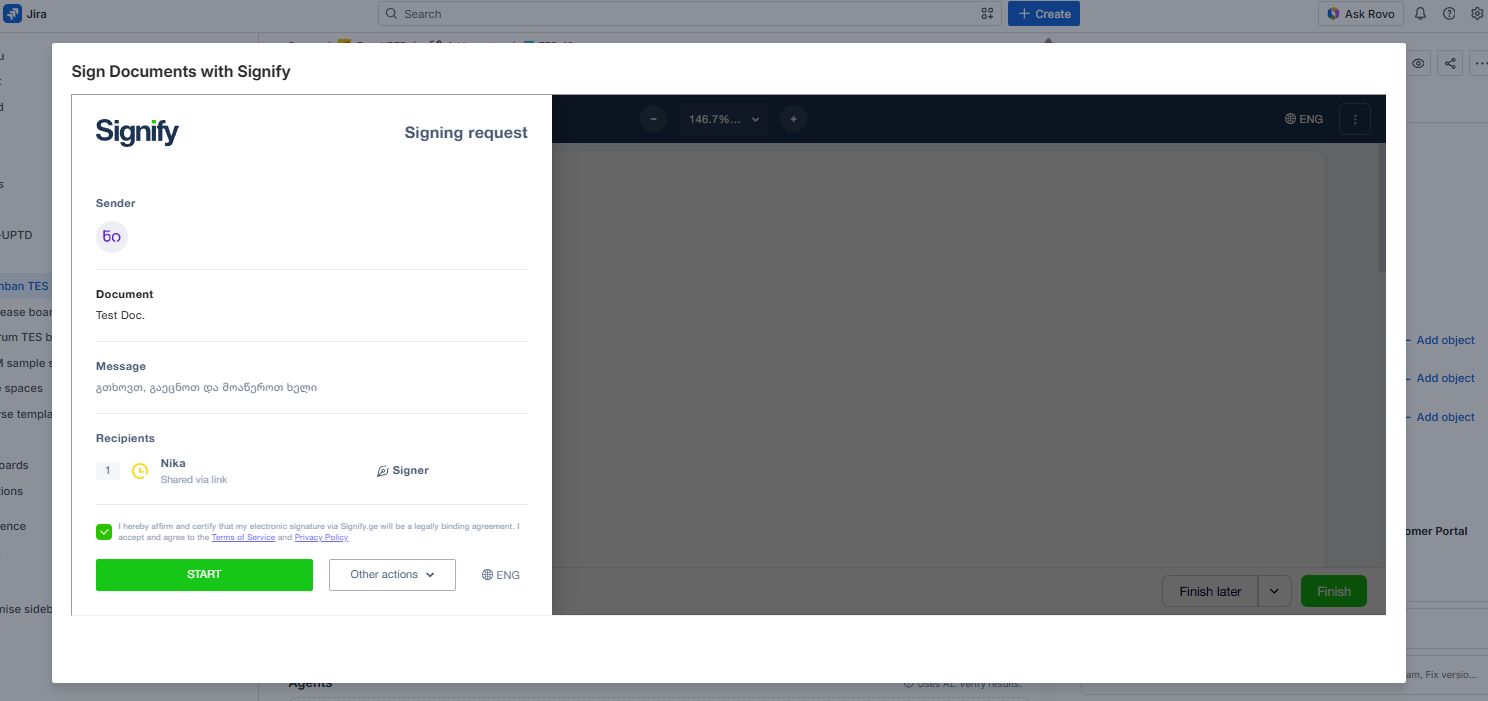
Click “ Sing document” and you will be navigated to “ Signify Signing request “ popup . Here you can see:
- Sender
- Document Name
- Recipients
Agree to the “Terms” and click “START” and you will be navigated to “ Place Signature “ popup:
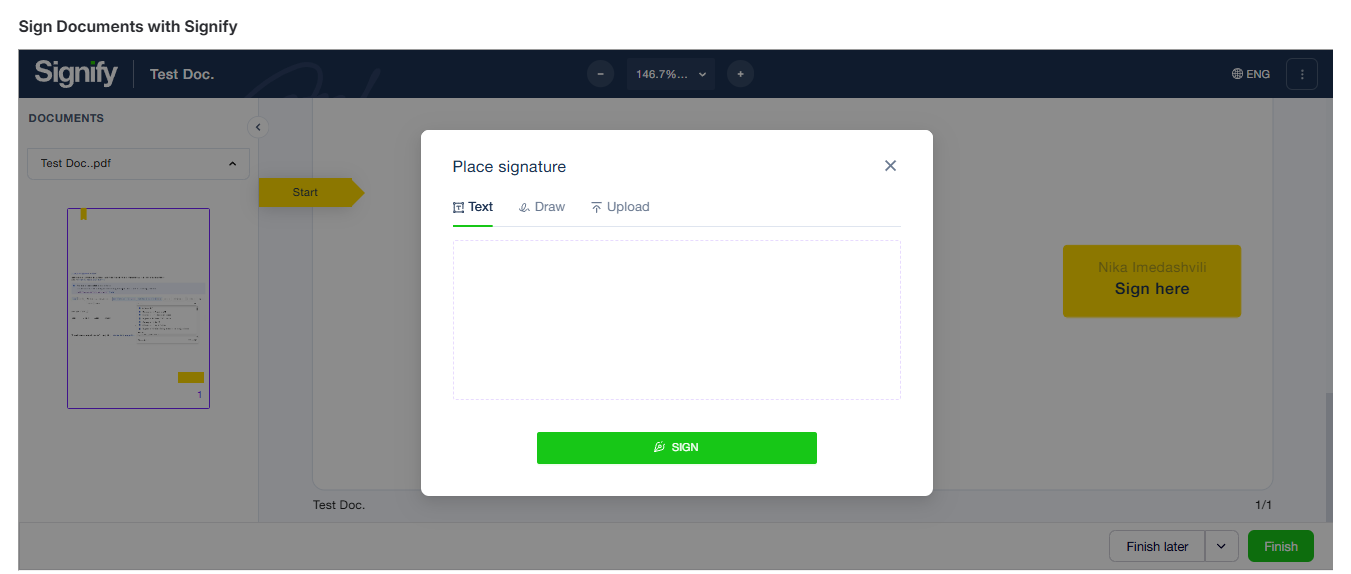
Place Signature:
After opening the “Place Signature” popup, you can text, draw, or upload your signature, then click the “sign” button:
Once the signature is ready, you will be navigated to Jira page where you can see signed document with the info:
Document Name
Signed By
Upload Date
Actions
Download
Details
- Signer(s)
- Details
- File

Once you sign the document, “Signify” will notify you by email that the document is ready.