Using On The Portal
Using On The Portal
Linking while raising a request
- Open the request form on the portal. The Linked work items section (or the rule’s Title) is shown at the bottom of the form or wherever the administrator placed the field.
- Choose how the requests relate in Select link type (e.g. relates to). The first type is preselected.
- In Type, search or paste URL, type at least 2 characters, a request key, or paste a request link, and pick one or more work items from the list.
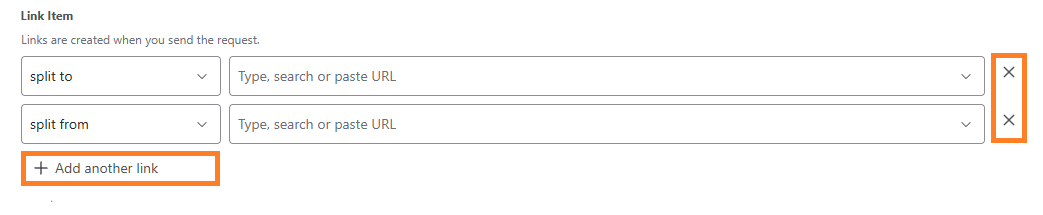
- To use another link type as well, click Add another link and fill in the new row (up to 10 rows). Remove a row with its remove button.
- Send the request as usual. There is no separate “Add” step — what you picked is what gets linked.
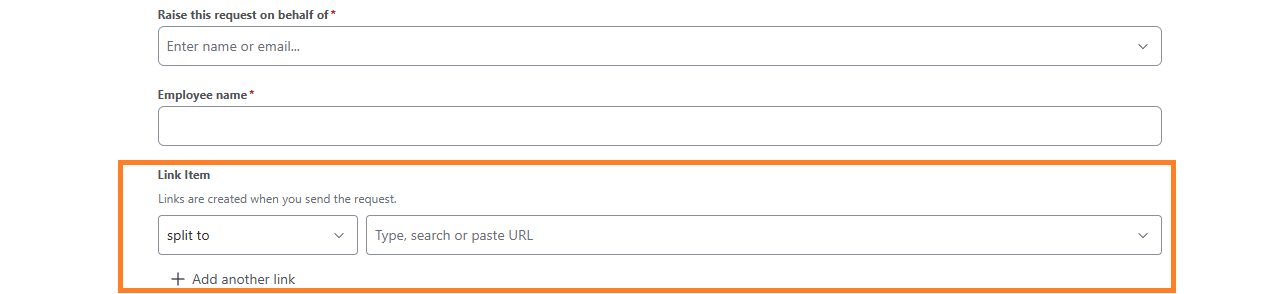
The links are created a few seconds after the request is sent. When the request page opens, it may show “Creating the links you chose…” until they appear. A work item picked in one row is not offered again in another row.
Linking From The Request Page
- Open the request on the portal and scroll to the Linked work items section. It is shown below the Activity area, so you may need to scroll down.
- Click Link work item.
- Choose the link type, then search for and pick one or more work items.
- Click Link. A message confirms “Link added” (or “N links added”). Click Cancel to close the form without linking.
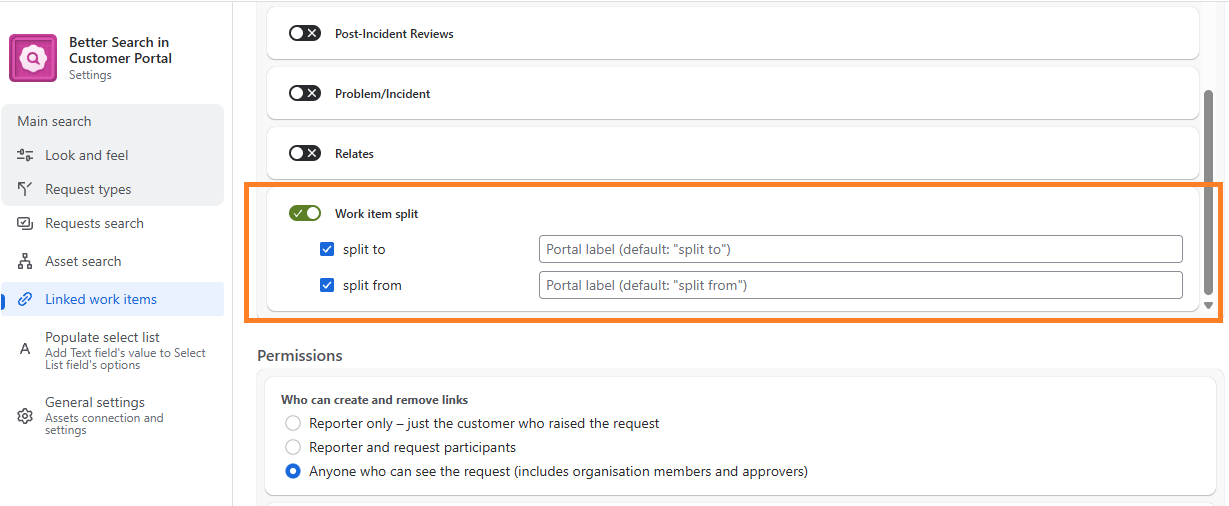

If only some links could be created, the work items that failed stay selected with an error message, so you can try them again.
Viewing and Removing Links
Links are grouped by their label (e.g. blocks, is blocked by). Each row shows the work item type icon, key, summary (full text on hover) and status.
- Click a key to open that request on the portal.
- If removing is allowed, click Remove on a row and confirm with the red Remove button. A message confirms the link was removed.
If there are no links yet, the section says “No linked work items yet.”